Shade and overcast days are best for even lighting.
Too much direct sunlight can make it difficult to capture the true colors, overexpose areas, and cast distracting shadows. You can block sunlight with a sheet or paper.
Overcast.
2. Natural Light - Indoors
Use indirect light from windows.
You can also use materials (white paper, white sheet, foil, etc) to reflect light back on the dark side of the item.

Indoors; window on the left.
3. Flash
I don't recommend using direct, straight on flash because it'll wash out the colors and you'll get distracting shadows.
If you need to use flash, you should bounce it up at a white ceiling and or diffuse it. If your flash is built in the camera, you can still try to bounce the light by using a white card or diffuse it with tissue.
4. Light Box
You can buy one or make one yourself. There's a few different set ups. Most DIY ones consist of a cardboard box, white poster board, tracing/tissue paper, and at least 2 lights such as clip on lamps.
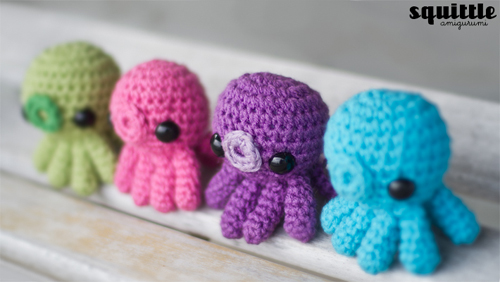
My Photo Set Up for the Nom Nom Monsters:

I used the back of a book as the background with natural light coming from windows above and behind the amigurumi. A lamp was on a few feet behind me and I also used white paper from a notebook (on the right) to bounce light on the side of the amigurumi that's a little darker.

No comments:
Post a Comment