Yes. Design/pattern credit is always appreciated though. :) They can be sold in craft fairs, on Etsy, and anywhere else you'd like.
My copyright note in the pattern says "Pattern is for personal use only. Please don't redistribute/resell the pattern in any way or form."
It means you can't resell the pattern or share the contents of the pattern such as making copies for friends, posting the pattern instructions online for free (if pattern is already free, linking to the pattern is preferred over reposting the content), and clearly showing the pattern instructions in a video or photo.
---
I occasionally get asked to sell finished objects again but I don't think I'll be making more for years, if at all. :( I'm getting into designing non-amigurumi things now and I'm also doing other crafts like sewing, bead looming, wire wrapping, etc.
I decided to make a
favorites list on Etsy of other's creations made from my patterns. I'll be redirecting those that are interested in buying to that list and they can choose who to buy from. :)
I'm not sure if there's a way to embed specific favorite Etsy lists so here's a few from the list:
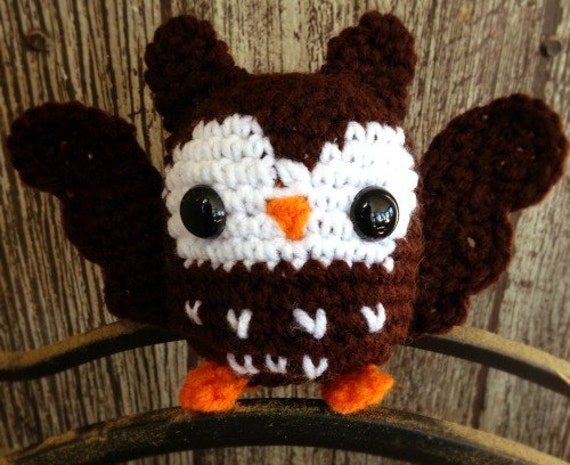
Owl Amigurumi by
SimplyWoodlandKnits
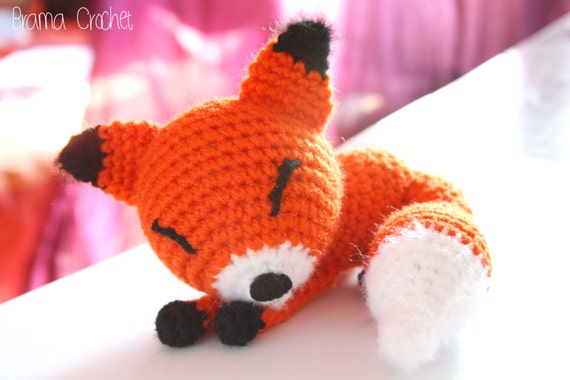
Fox Amigurumi by
BramaCrochet
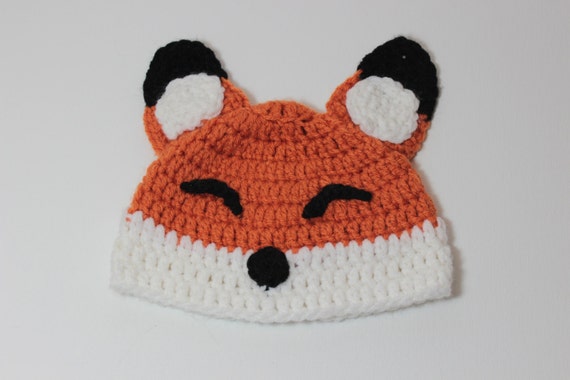
Sleepy Fox Baby Hat by
CKBsHandicrafts
To get on the list, you just need to put something like "Pattern by Adorably Kawaii" or "Pattern by Amanda Michelle" in your listings. (It's so I can be certain that the pattern used is actually mine and that it's not freehand or someone else's similar looking design.)


